
Monday Motivation: Clean The Gardening Tools

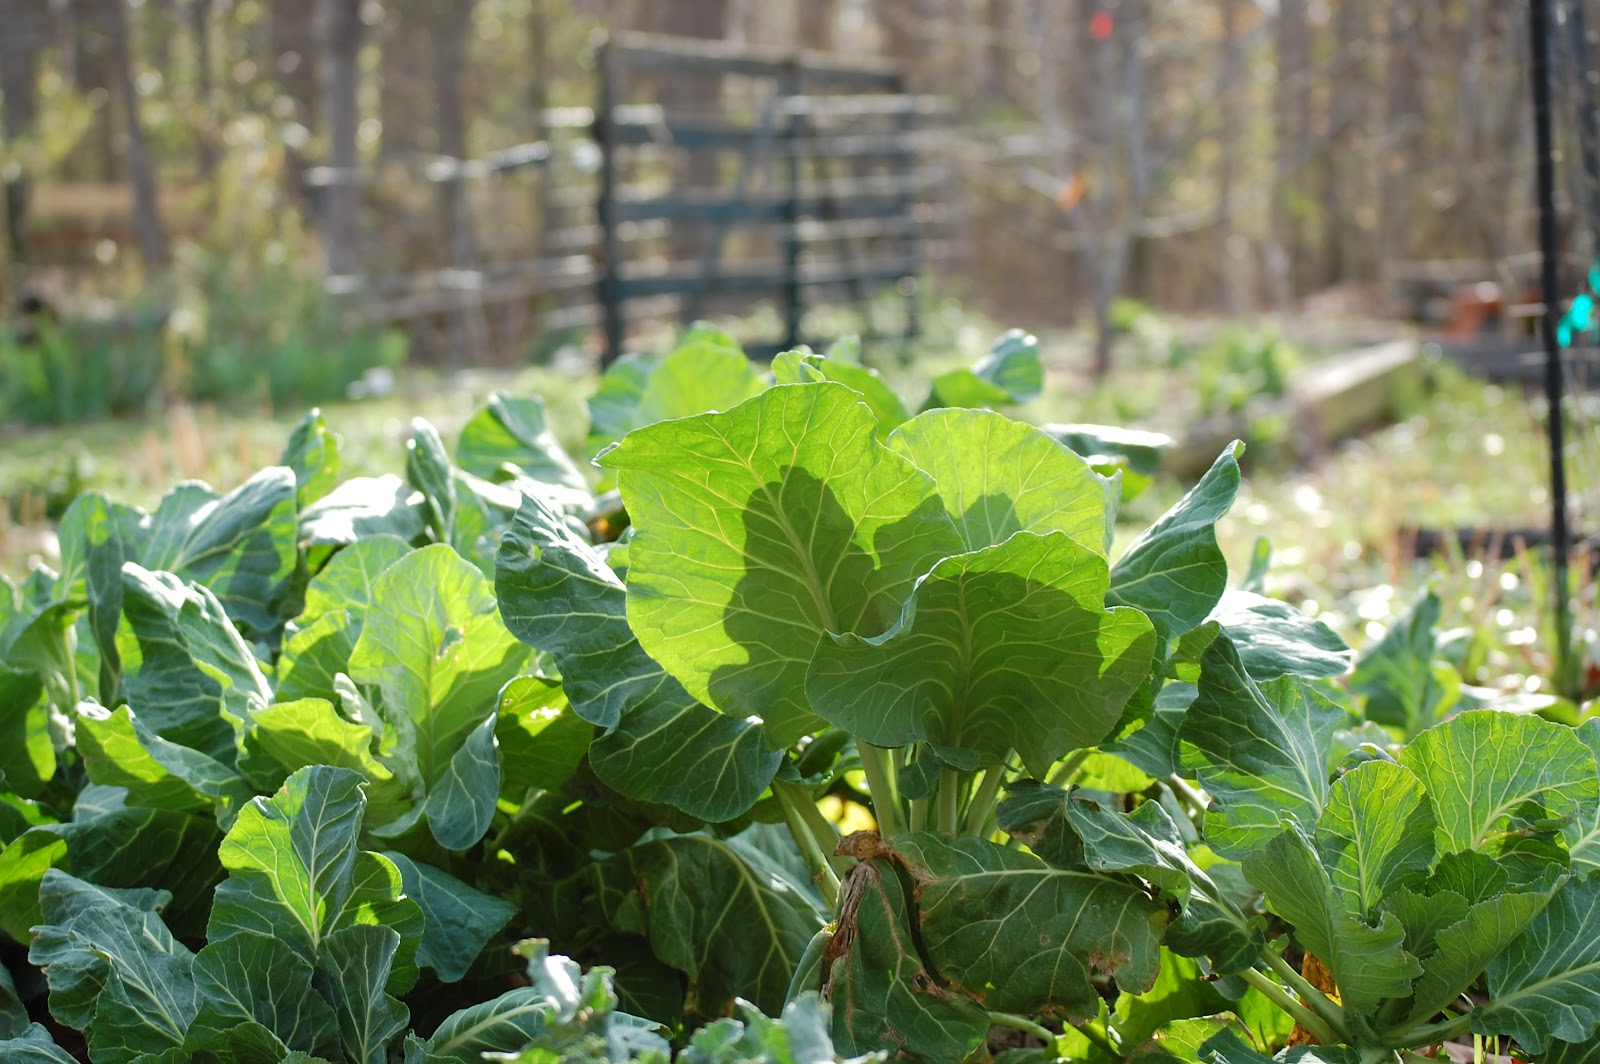
                                           The last of the kale and collards

I was excited to finally get out in my garden this past weekend and get some work done.  If you're like me, you didn't give your gardening tools much thought last fall when you put them away. 

When I opened the door to my tool storage area, I was ashamed at how I had stored the tools.  There was dirt still hanging from the shovels, pine straw on the rakes, and sap on the pruners.  Bummer.

I pulled everything out, swept the area clean, and got to work.  Here's what I did to get my tools back in shape.

1.  I washed off caked-on dirt, mulch and dried grass from the gardening tools.  I scrubbed with a stiff bristled brush and then rinsed with water.  I let everything dry in the sun.

2.  For pruners, loppers, and cutters (is that a proper word?) I wiped the blades with paint thinner to remove sap and tree pitch.  On one pair I had to use some steel wool because the spots were so stubborn.

3.  I sprayed all of the tools with WD40 and rubbed them well.  Then I took some paper towels and wiped off all of the excess. 

4.  I didn't need to do this step, but if necessary, I could have used a metal file to smooth shovel edges or pruner blades.

5.  I added a few extra hooks and nails to the storage area so that none of my tools were sitting on the ground.  I also added a small container  near my backdoor so I can keep my small trowels, gloves, and pruners where I can grab them as I head out to the garden. 


Let the gardening season begin! 

Comments

  1. What a great reminder. I'll have to get my husband right on it. Just kidding, I'll need to cajole and encourage. Hah! Jo @ Let's Face the Music

    ReplyDelete

Post a Comment

I'd love to know what you're thinking. Please feel free to leave ideas and comments.

Popular posts from this blog

How To Make Your Own Exercise Bike For Next To Nothing

Remember back in April when I had a kidney transplant?  Well, the kidney is doing great (thanks, Cathy , for taking such good care of it when you owned it).  There was one little glitch, however.  During surgery, the retractors they used caused some nerve damage in my right leg.  When I woke up from surgery, I couldn't move or feel my leg.  The docs felt like the feeling would come back but the paralysis had them stumped.  A visit to a neurologist ruled out a stroke and a CT scan showed some fluid which was pressing on L4 and L5 (medical talk which means I couldn't feel or move part of my leg).  The prognosis is good and I'm recovering pretty quickly.  In fact, I've left my cane behind and I'm walking freestyle without falling.  My next goal is to be able to drive. I've been itching to get back to exercising (physical therapy doesn't count) because my medication causes me to gain weight and I need to burn some calories.  Running? - nope.  Walking? - can&

A Designer's Secret For A Taller Bed

  Several years ago Hubs and I spent almost a year looking for a bedroom set that we both loved.  He wanted clean lines and dark wood.  I wanted curves and a "tall" bed.  Of course, there was no perfect bedroom set but we were able to compromise on a set that we both liked.  My main wish was for a bed that I could "climb up into".  The problem with that wish was that most of the "tall" beds were four poster beds and Hubs was not in the mood for that.  We found a Thomasville bed on display at a local furniture store and it fit the clean lines that Hubs wanted and it was "tall"  enough to suit me.  The problem was that once we received the bed we ordered in our home, it wasn't as tall as I had remembered it being.  My heart sunk!  I went back to the furniture store to look at the display.  Their bed was much taller than our bed.  Hmmm. . . what was different? I got nosey and lifted up the comforter on the bed.  It revealed their secret

Plans For A DIY Exercise Bike Stand

  Thank you to so many of you who emailed me about plans for the DIY Exercise Bike Stand .  I apologize that it has taken me so long to get the measurements to you, but they are finally here!   The wood was purchased at Home Depot and the bike pegs were purchased at Walmart in the bike section.    The bike we used for this project is a 24" 12 speed bike (I'm a shorty).  I used the hardest gear while riding, but this set-up does not allow you to really get much resistance (for building muscle).  It was great for getting my legs moving after some nerve damage.  I also wanted to burn calories and get my heart rate up and this did the trick.    If you have any questions, just shoot me an email.