Do you dread seeing my Monday Motivation every Monday morning? Do I bug you with my "to-do" list each week? Well, you're really going to hate me today. I'm going where no one wants to go. I'm going to the fridge and freezer.
Before you stock up on holiday foods for Christmas it would be to your benefit to clean out these two appliances. You might even find some Thanksgiving leftovers in there. * Parts of the post were originally published November 16, 2009 on this blog
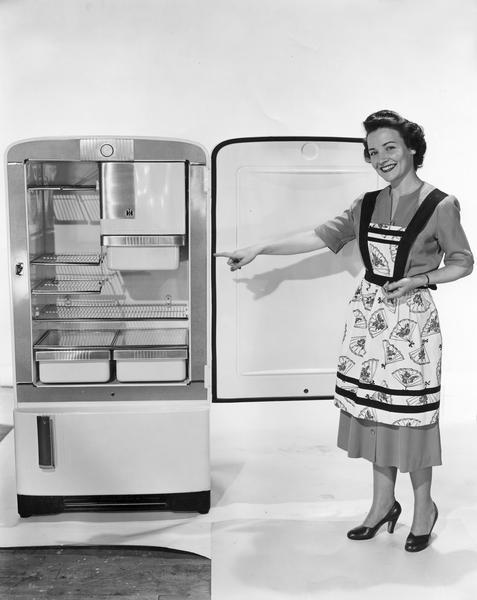
( I want that apron)
Let's start with the fridge.
1. Drag your garbage can over to the fridge. Fill the sink up with warm, sudsy water.
2. Start on the door. Remove all of the bottles and containers. Wipe down every shelf with a dish cloth or sponge rinsed out in the warm water. Check over every container. Toss out anything that is expired, empty (it happens), or that your family will never eat. Replace remaining containers according to type (pickles with relish, jams with jellies, ketsup with mustard and mayo etc.)
3. Repeat step 2 with the fridge shelves. Be sure to pull out the crisper drawers and wipe underneath them. You won't believe the crud that hides down there.
4. Speaking of crisper drawers, you can line them with a cotton tea towel or paper towel and it will help to absorb any condensation that collects. The next time you clean, simply wash the towel or throw away the paper towel.
5. This is the hardest step. Pull your fridge away from the wall and vacuum behind it. Also, vacuum the front and back of the fridge. It will help your appliance run more efficiently.
Ok, are you tired yet? I cleaned my fridge and both freezers on Saturday and it took me less than an hour. That also included the inventory list I made of my freezer contents.

Freezer cleaning:
1. Take everything off of the door and wipe it down. Just like cleaning the fridge, throw away anything that is expired, has freezer burn, or can't be identified. Trust me, you're never going to eat it.
2. Repeat step 1 with the shelves in the freezer. Replace items together by type. I keep all of my bagged items together in square/rectangular baskets. They act like drawers on the freezer shelves. I have one for veggies, fruits, and cheeses.
3. If you've got enough energy left, pull out your freezer (hubs might have to help with this) and clean under it. Also, vacuum the vent area. It probably has cob webs around it.
Now, your fridge and freezers are ready for the holiday season. Don't you feel better?
I'm not quite sure I'm ready for this type of fridge. What do you think?
This is nice, transparent refrigerator is one of the many new home electronics displayed at the National Electronics’ Invention Station in Tokyo, it’s a new campaign hosted by three pretty Japanese anchorwomen. This transparent refrigerator will show your food to everyone so be sure that you keep it clean and arrange nicely all time.

(source)
You always give such simple and clear directions for cleaning - moms need to just hand your blog address to those poor college boys who have no clue how to clean LOL!
ReplyDeleteI LOVE that red "fridge" (I still can't believe it's really a fridge!) but would definitely have to pass on the clear one - there's no way I could keep mine that clean and organized all the time!