After checking out the bed on a budget and the bedding on a budget for our guestroom, now it's time to look at the accessories. I basically shopped my house for things that would work with the colors in this room.
One thing, in particular, that I bought for this room was the luggage rack that you can see at the foot of the bed. I actually bought it about 10 years ago in anticipation of having a guest room one day - am I crazy or what? I've held onto it and now I can finally use it.

I bought the side table (on the left side of the bed) at a thrift store a few years ago for just a few dollars. It was in rough shape - broken drawer, missing handle, and a really bad finish. What it did have going for it was it's size and shape, general sturdiness, and drop sides.

I glued and clamped the drawer back together, replaced the handle with a leftover one from my old kitchen, and sanded and painted the whole thing.
I painted it the same satin black as the bed.

To accessorize, I used a few items around the house that I particularly love - a needlepoint seat cover with beautiful colors, a small wooden heart box that Hubs gave me, a wren mug from a friend, and a cross stitched picture done by my grandma.

The other bedside table is really a round sewing table. It was made by one of my clients for his wife who passed away. No one in his family wanted it, but it meant a lot to him. He asked me if I knew how to sew and when I told him that I sewed all the time, he asked me to please take the table home and put it to good use. It still contained all of his wife's thread, needles, and sewing supplies. I've kept it as is; never using the supplies but keeping it like a time capsule of days when women had a sewing table next to their chair in the living room to catch up on mending and darning.

I covered the table with a table cloth (thrifted, of course) that I usually use on my round porch table in the summer. It fit the small sewing table perfectly. I topped the table cloth with a round basket because the table top is a bit uneven. I added a little bit of reading material, a small starfish, a bedside water carafe with drinking glass lid (I found it at Pier One a few years ago), and a small red bird to repeat the red colors on the bed. I've kept it mostly neutral colors with just a few pops of color.

One tricky spot in the room is the window that sits between the bedroom and the bathroom. I think this was originally an exterior wall because the window is double glazed and the window trim in the bathroom is really well caulked. My problem? The bright colors are well. . . really bright. I don't think this picture does it justice!
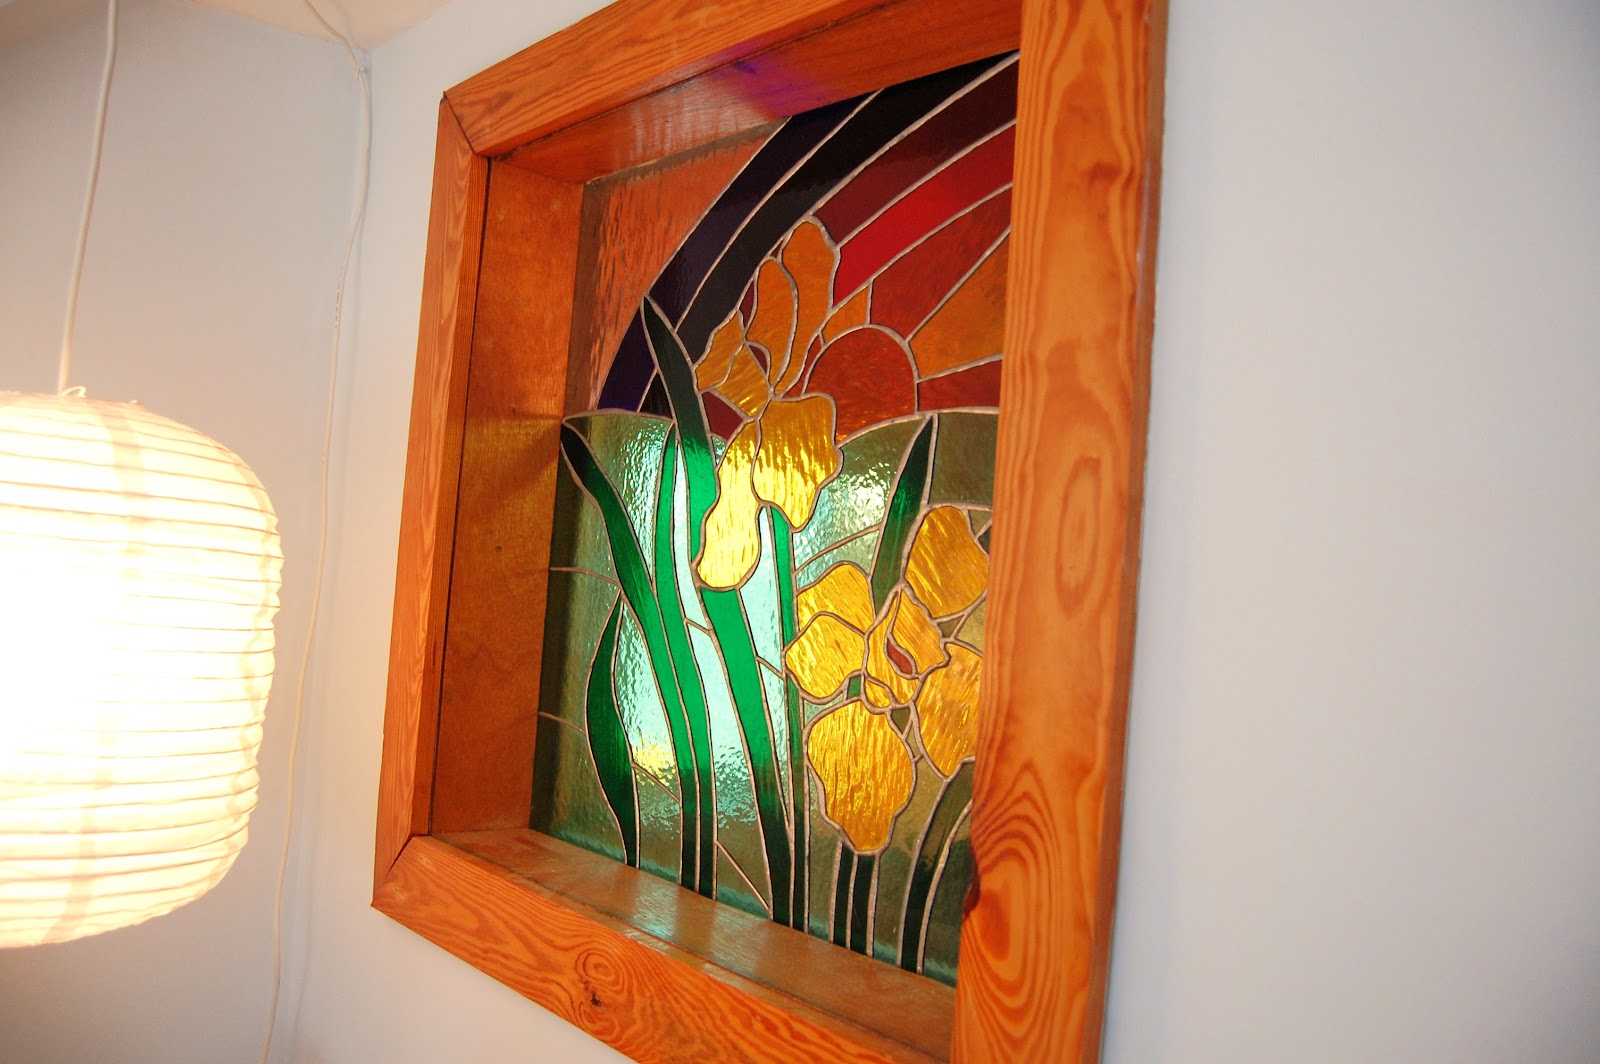
Until I decide on something else to do, I'm camouflaging the window with a silk orchid arrangement working like a window box.
The lamps I'm using are from my oldest daughter's wedding 7 1/2 years ago. We used them to decorate the plain social hall in our church. I'm not crazy about the cords showing, but they don't distract too much from the overall look of the room.

Another shot of my grandma's cross stitch. Home is where the heart is.

The rainbow and daffodils in all of their glorious color!

One of the best accessories of the whole room is the view. This shot is taken through a screen on the window, so it's a bit fuzzy, but looking out into the backyard gives you a sense of being up in a tree house.

Next post - the bathroom.
Love the bedding and how you brought it all together from what you already owned. An idea to camouflage the stained glass window is to sew a curtain and use a tension rod to hang it in place.
ReplyDeleteLove your blog.
Laurie